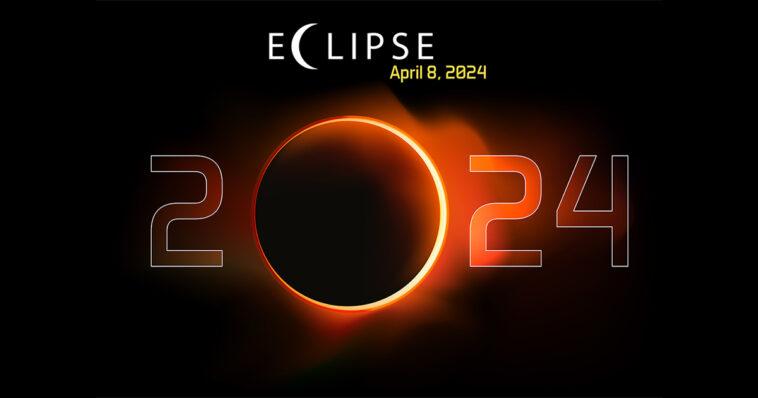
Central Florida will not get a total eclipse on Friday, April 8th, we will get to see a partial one and we’ve got you covered with this DIY guide on how to make your own solar eclipse glasses. With just a few simple materials and some creativity, you can safely observe this spectacular celestial event without breaking the bank.
Materials you will need:
– Cardboard
– Aluminum foil
– Tape
– Scissors
– A pin or needle
– White paper
– Glue
– A rubber band
Instructions:
- Start by cutting two identical rectangular pieces of cardboard that are slightly larger than the size of your eyes.
- Cut out two small squares from the aluminum foil that are slightly larger than the size of the holes you will make in the cardboard.
- Use the pin or needle to carefully poke a small hole in the center of each piece of cardboard.
- Place the aluminum foil squares over the holes and secure them in place with tape.
- Cut out two small rectangles from the white paper and glue them to the inside of the cardboard pieces, covering the aluminum foil.
- Attach the two cardboard pieces together using a rubber band, making sure they are positioned in a way that allows you to look through the holes.
- Your DIY solar eclipse glasses are now ready to use!
Tips for safe viewing:
– Make sure the aluminum foil is securely attached to the cardboard to prevent any light from passing through.
– Test your glasses by looking at a bright light source before using them to view the sun.
– Only look at the sun through the pinhole in the glasses and avoid staring at the sun for extended periods of time.
Remember to share this DIY guide with your friends and family so they too can join in on the excitement of this rare event. Happy eclipse watching!


Comments